
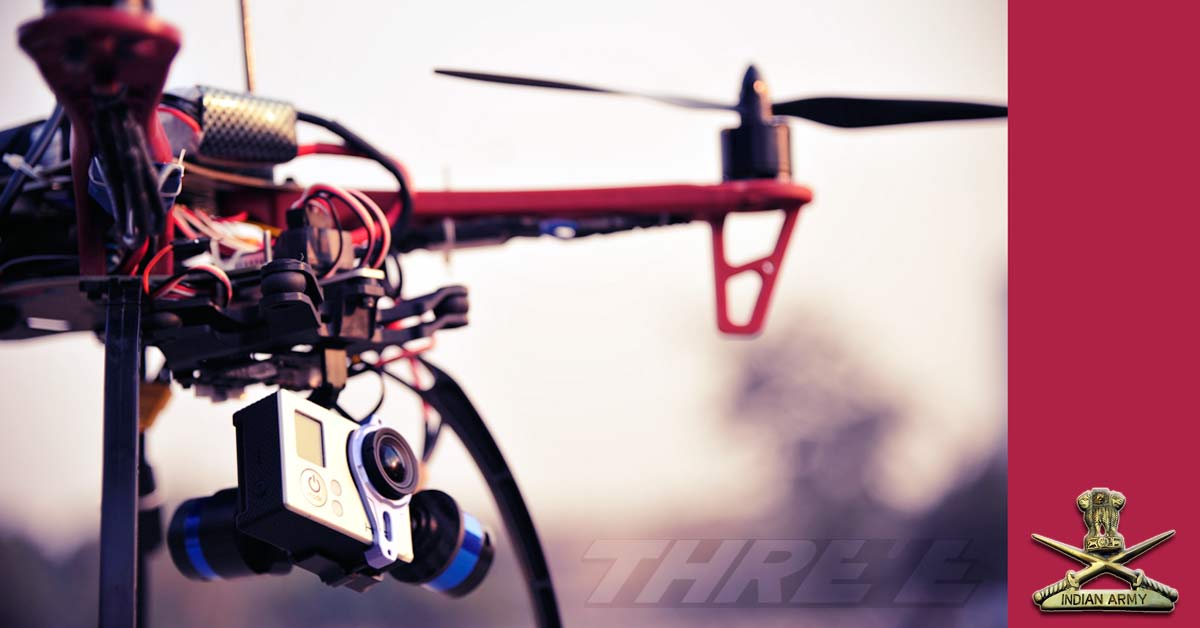
 This is a two part blog post. Part 1 talks about the background to the entire exercise, the Part 2 talks about the simulation exercise which was built on top of the entire Drone Op generated data. The background to this entire operation were our simulation activities that we were doing for Defence. Our past experience had mostly been with the Indian Air Force, and recently had also done some aviation simulation works for the Indian Navy. However when we demonstrated the same to the Army, the feedback given was ‘Well, all this simulation, terrain recreation etc is fine for aircrafts flying thousands of feet above the ground, but we need something which can give a soldier a feeling of if he has the boots on the ground’. This needed a very highly accurate ground mapping which required two elements – a digital elevation map (known as DEM) and ground texture. Now DEMs were available, but those in the public domain had extremely low resolutions, only suited for very high-altitude passes, like those available from NASA and Japan Space Systems. Higher resolution DEM imagery is either available only to military (including ISRO’s own DEM data – but we didn’t have access to that), or very expensive to buy for commercial use. Google earth (including Pro) pack – while allowed you to export imagery, it didn’t allow you to export the elevation, and even imagery had to be stamped with Google earth’s logo. And the resolution wasn’t good that we wanted anyway. The target that had been give to us for the textures resolution was – 10 cm per pixel. A massively ambitious target. But audacious goals only embolden us to achieve them. We decided, we’d get our DEM via an aerial survey. Choice of platformIn order to do an aerial DEM, we obviously needed an unmanned aerial system (UAS), or commonly known as – Drone. There were many choices and factors
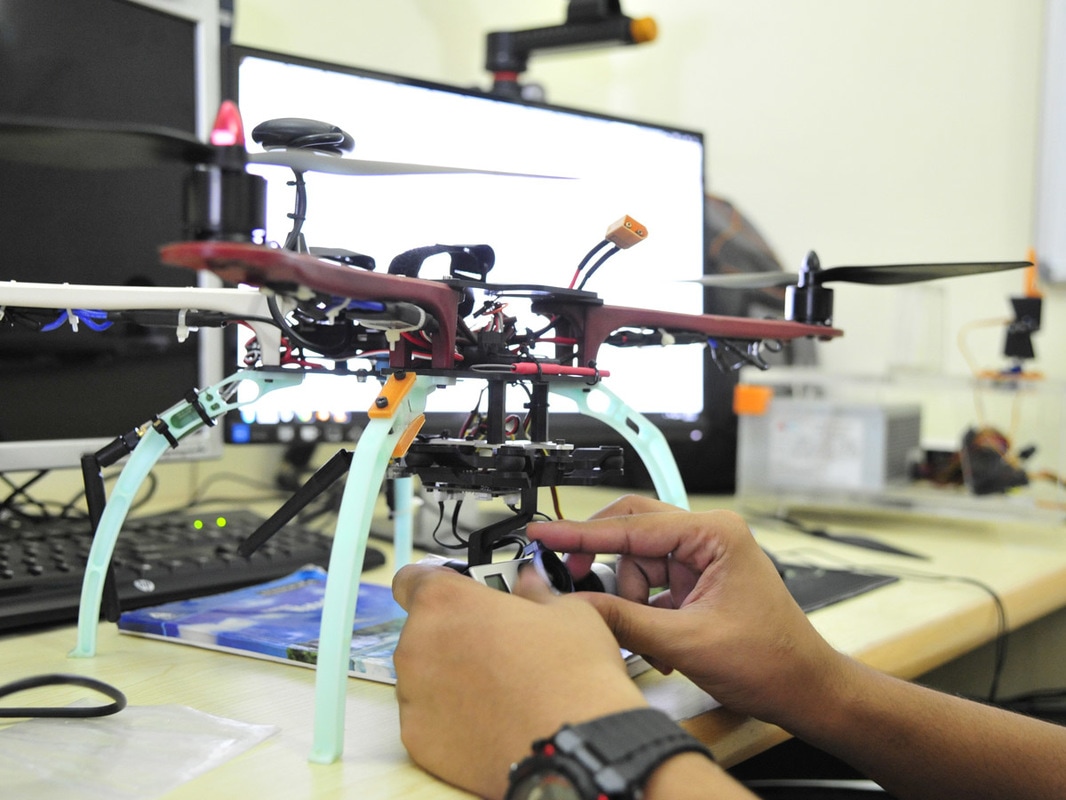
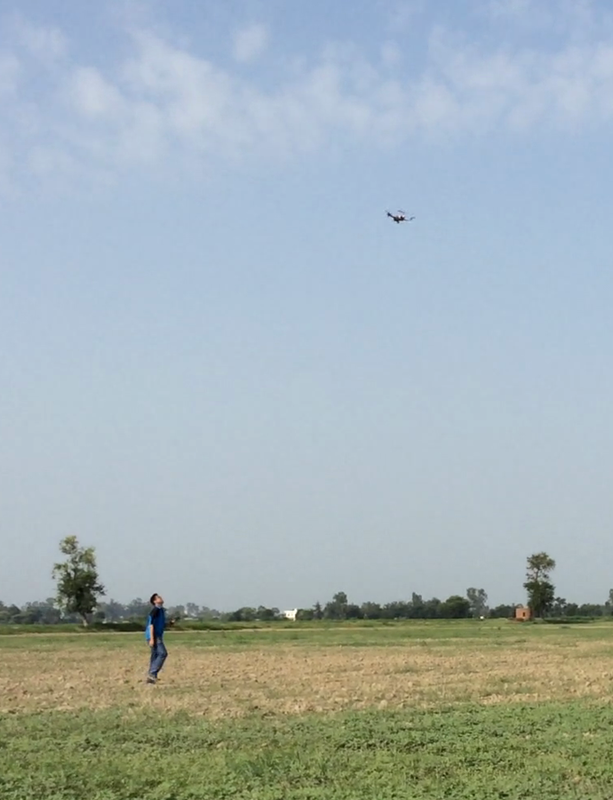
Learning to fly
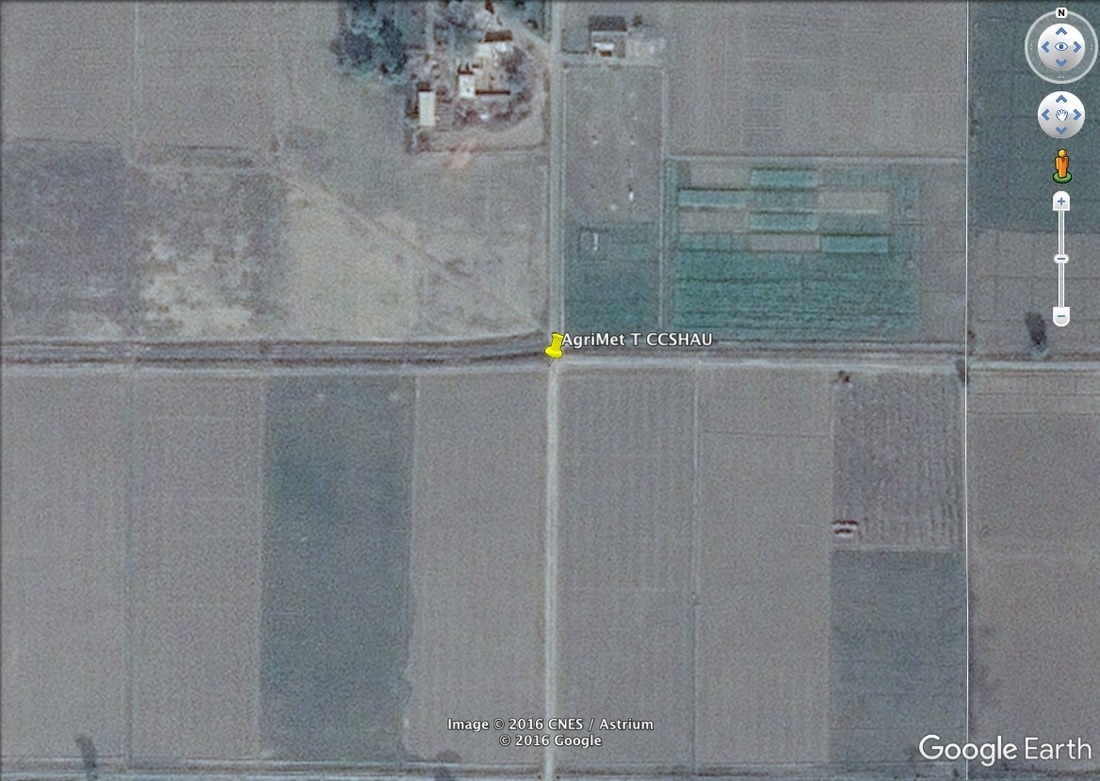
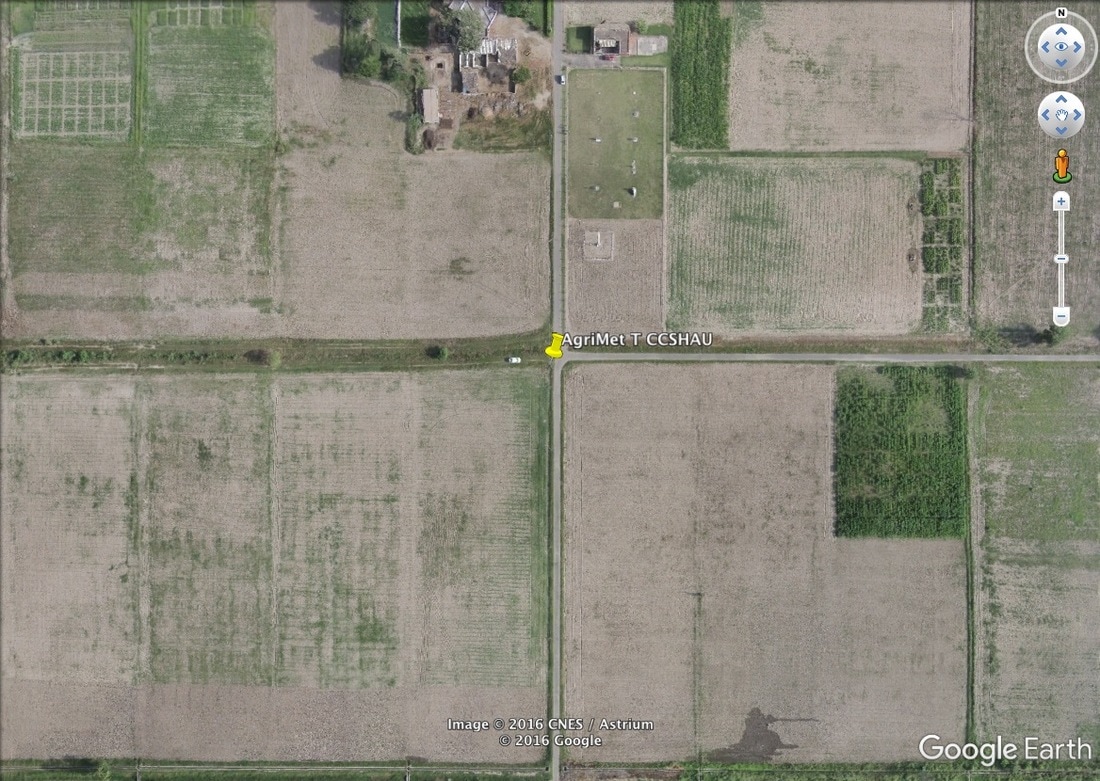
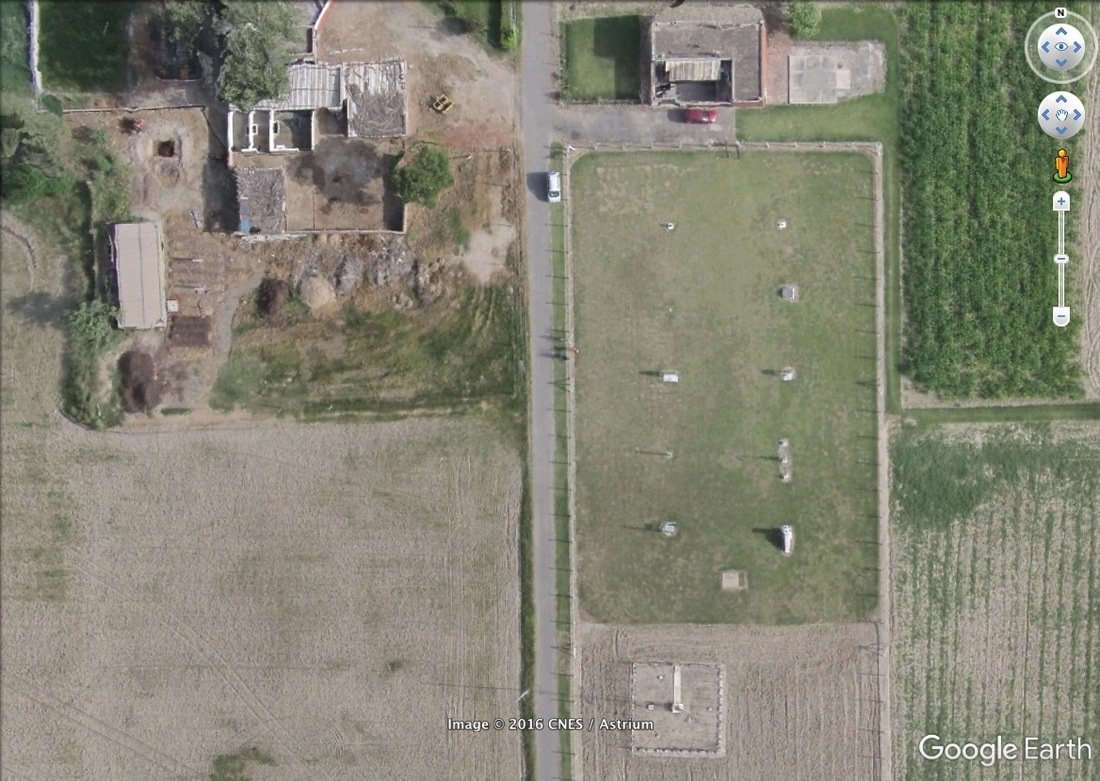
Choice of locationJust about when we were considering the above and buying the relevant parts – an important decision was where to actually execute the exercise. We were located in New Delhi, but flying a drone within Delhi was a serious no go – there had been reports of sighting rogue drones in news, including at the airport, and in such a charged atmosphere, we didn’t want to get a system airborne in and around Delhi. So we decided to head out, and choose a location which
So we loaded our car with equipment, drone supplies, electronics elements, our PCs, and off we were, to see what we could come up with. 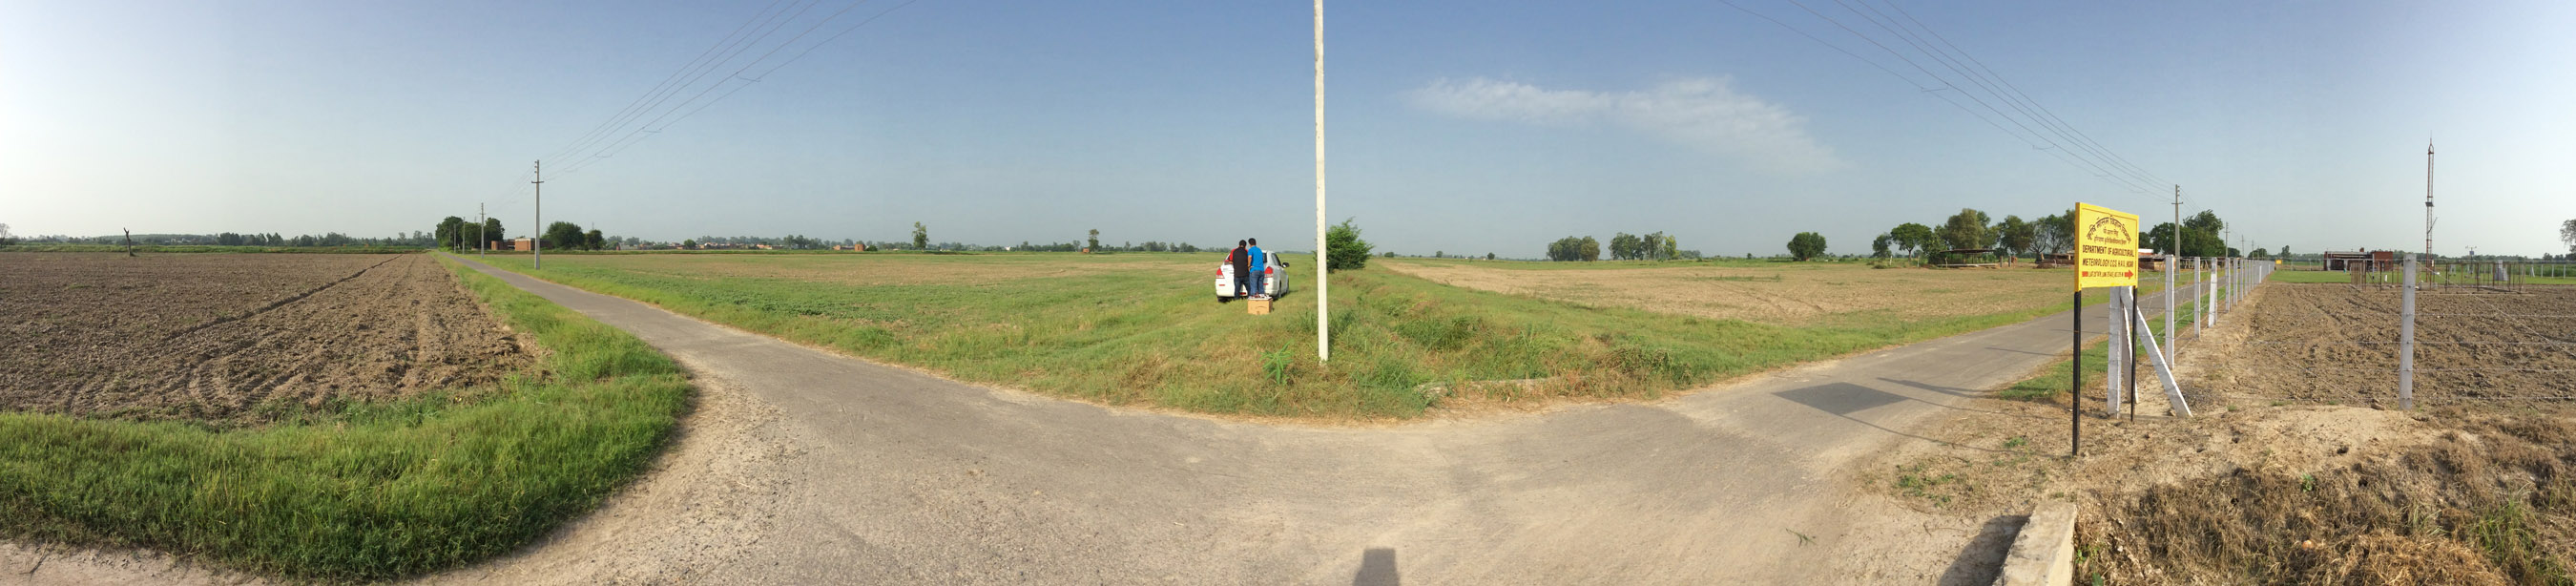 Initial test runs
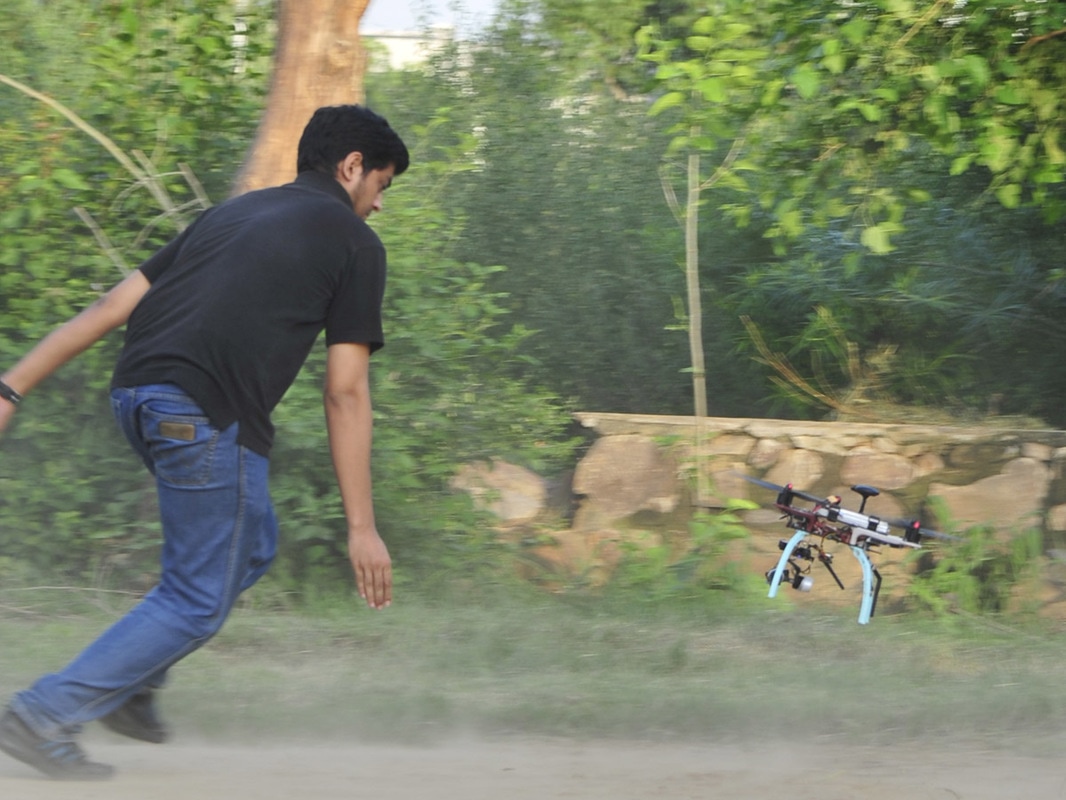
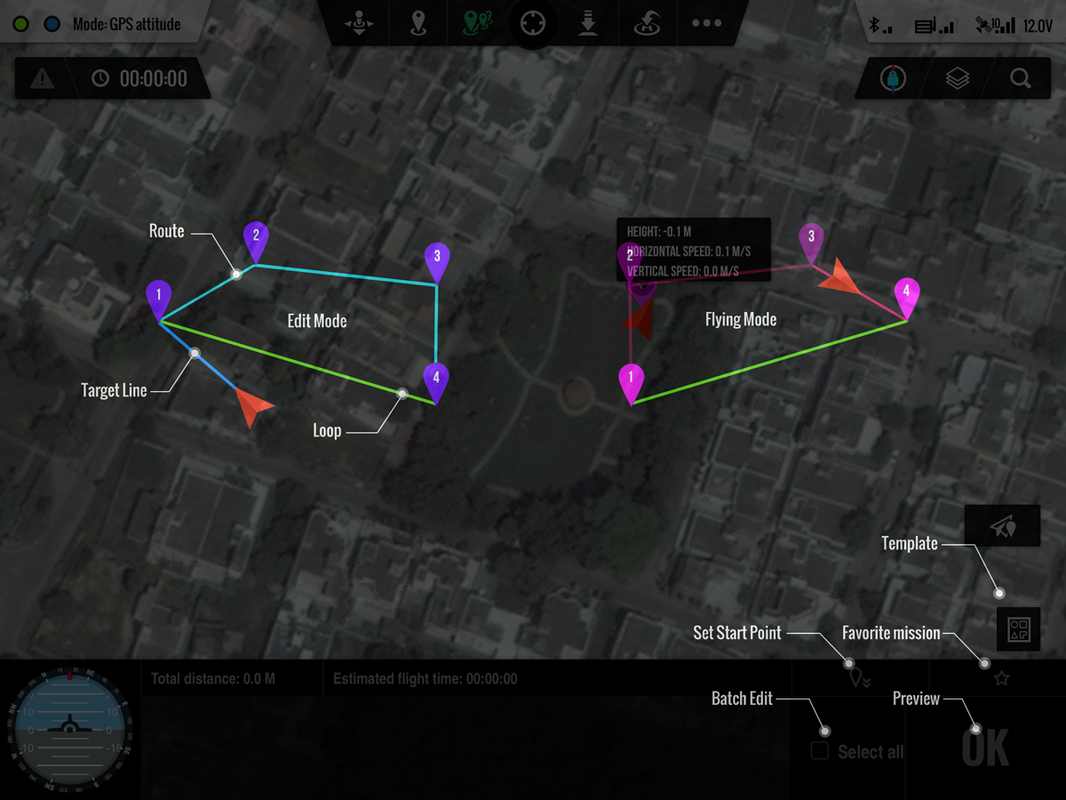
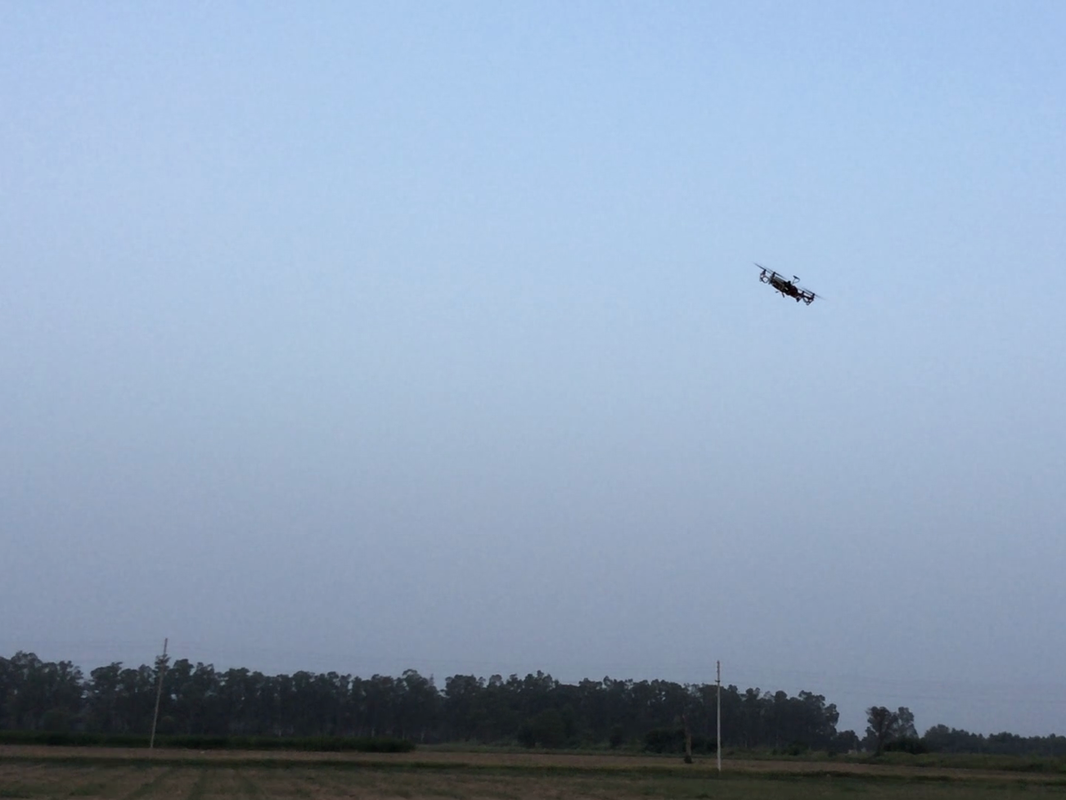
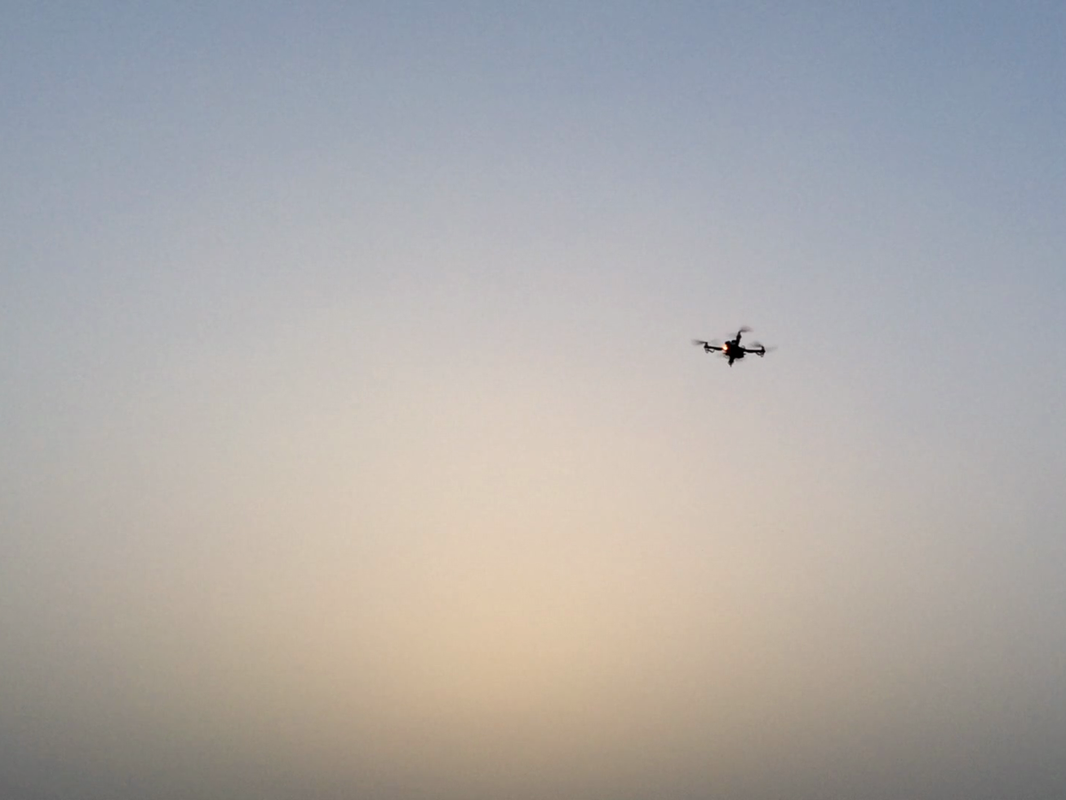
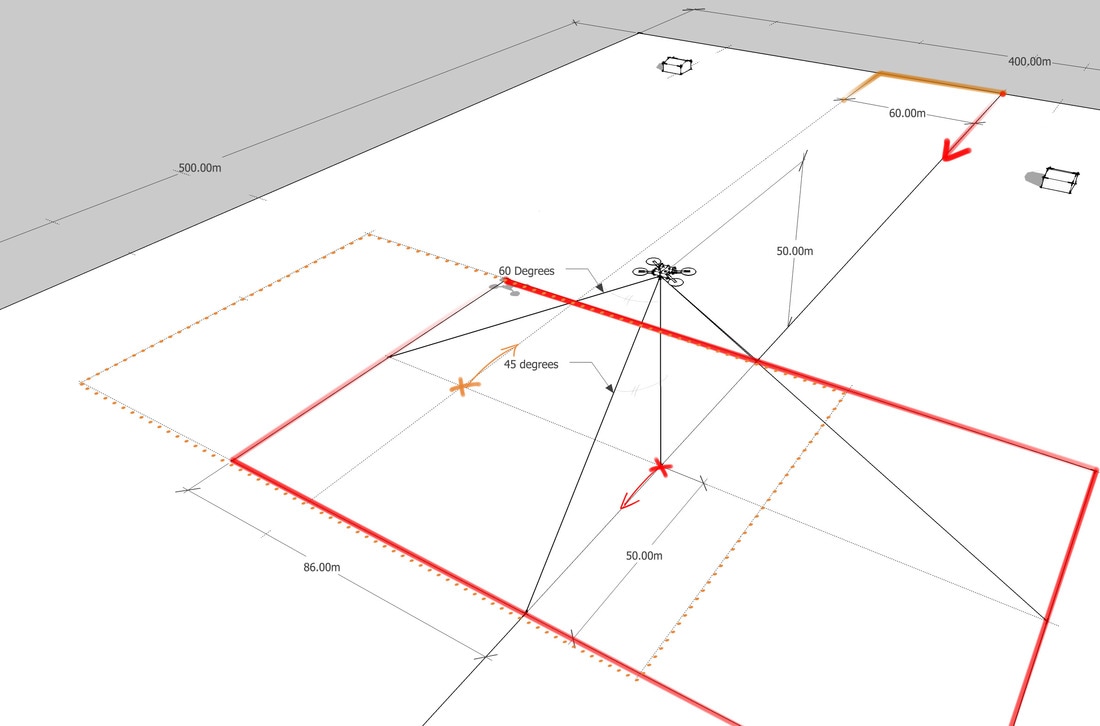 Now that we knew our systems parameters well, and with help from basic trigonometry, we were able to arrive on an optimized solution which ensured that we could cover the 50+ acres within our endurance flying time of 15 minutes. So the next morning was decided to be D-Day, and batteries were left to charge. DDay and CrashHaving programmed the path along the GPS coordinates, with final testing of the UAV, gimbal and camera, batteries etc, all systems were go at the next morning and the mission was put into practice. The UAV took off beautifully, rose to the programmed height, oriented itself and started the scan. We were all positioned at the extreme corners of the 400m x 500m observing the UAV carry out its mission. It all seemed to be going as per plan. However, the winds started picking up. The UAV had to move across the ground at about 20km/hour to cover the required area in the stipulated time (and the camera was also programmed to take pictures at a fixed frequency) so that image-to-image distance was within the ‘overlap-parameters’. But with risings winds, the UAV had to work extra. It got the benefit of tailwinds along one pass, but faced headwinds along the opposite pass – and the results didn’t cancel each other out – overall, the effect is reduction of endurance. And on the last pass, either the wind became too much to handle, or the battery ran out (it should have returned to home, in case battery was low, but it didn’t), the UAV decided it had had enough, made a final gesture of salute by gaining a bit of altitude, and then stopped mid air before plummeting to mother earth – choosing the only spot in the entire 50 acre area which had a bricked flooring.
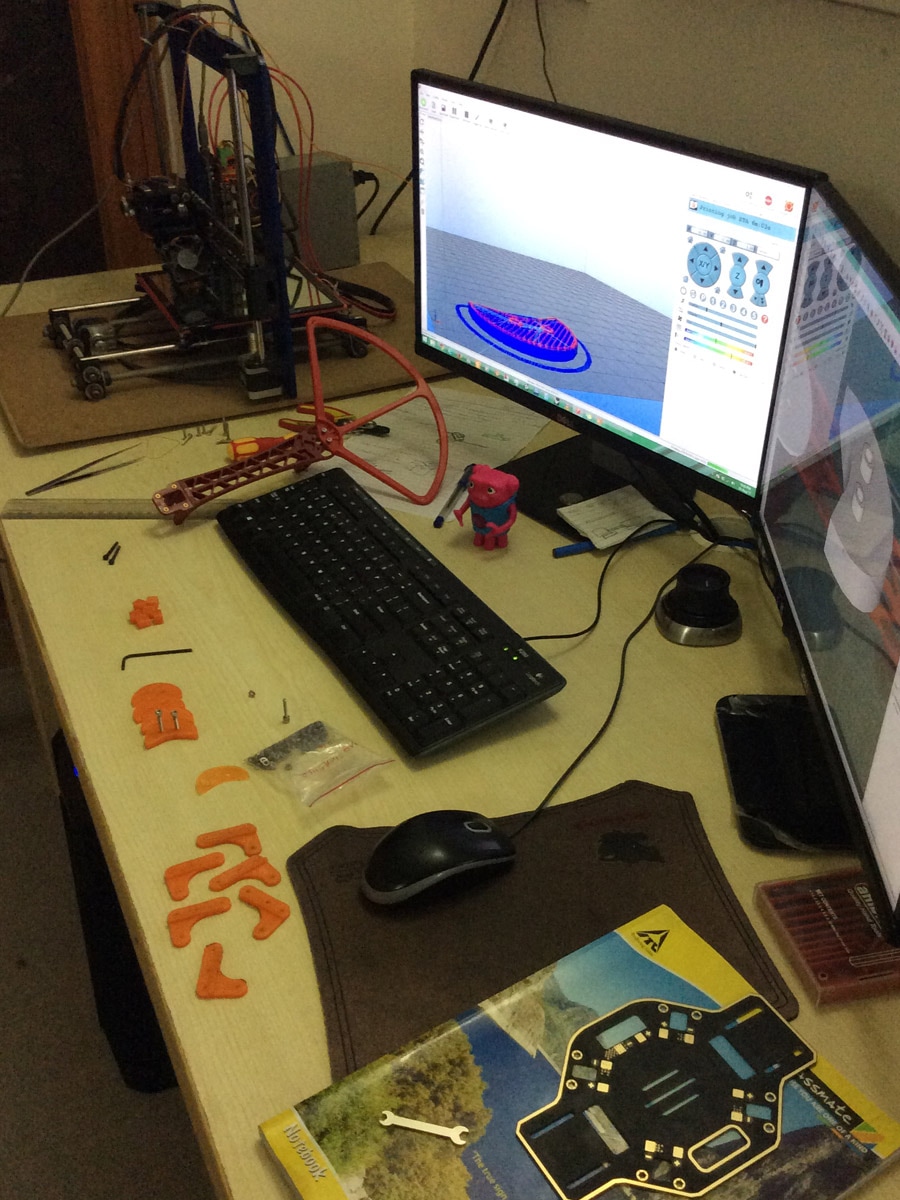
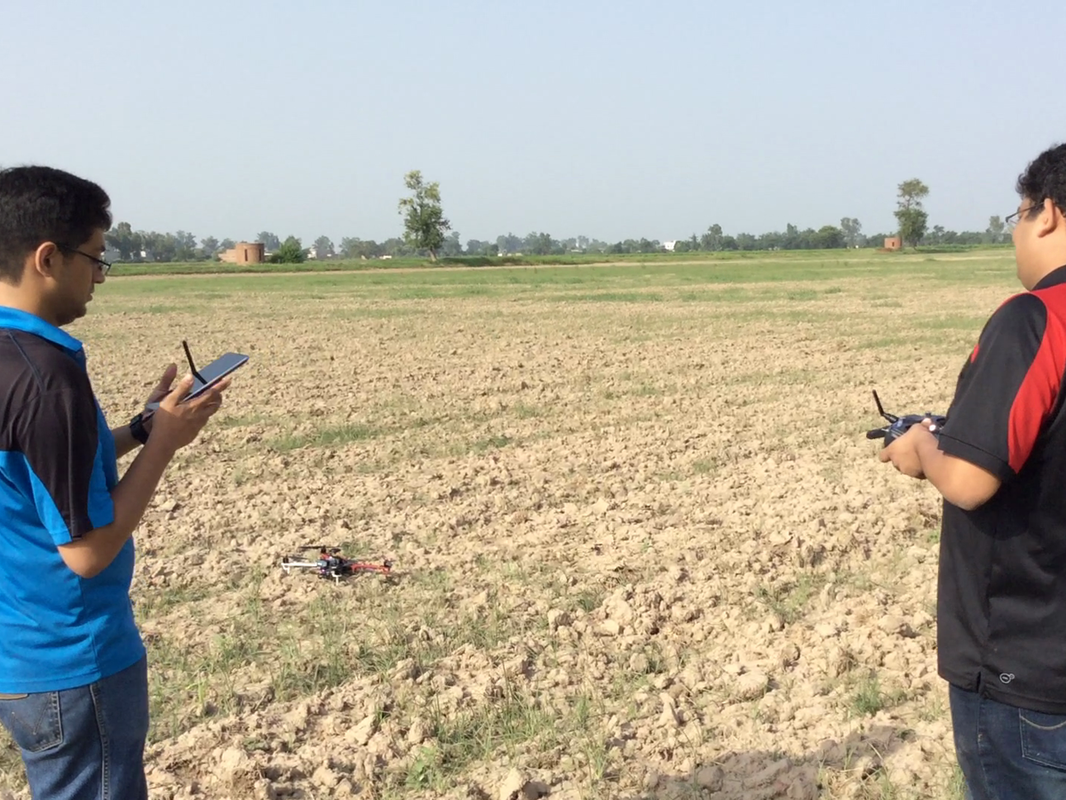
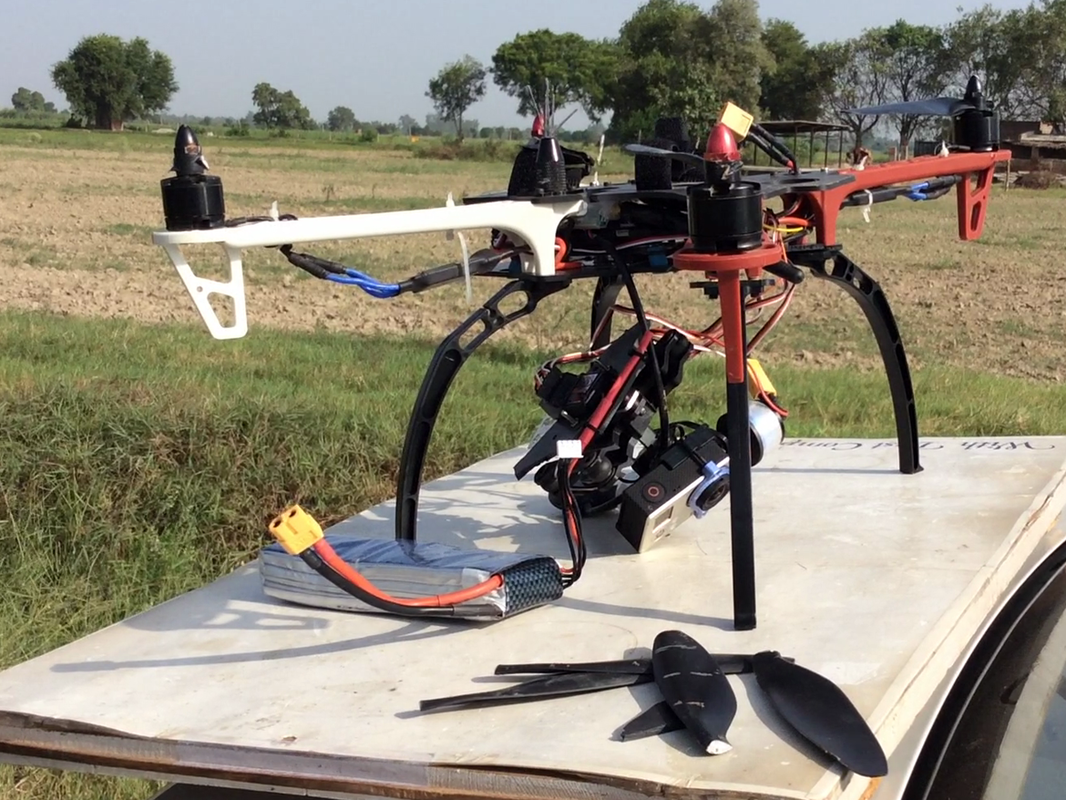
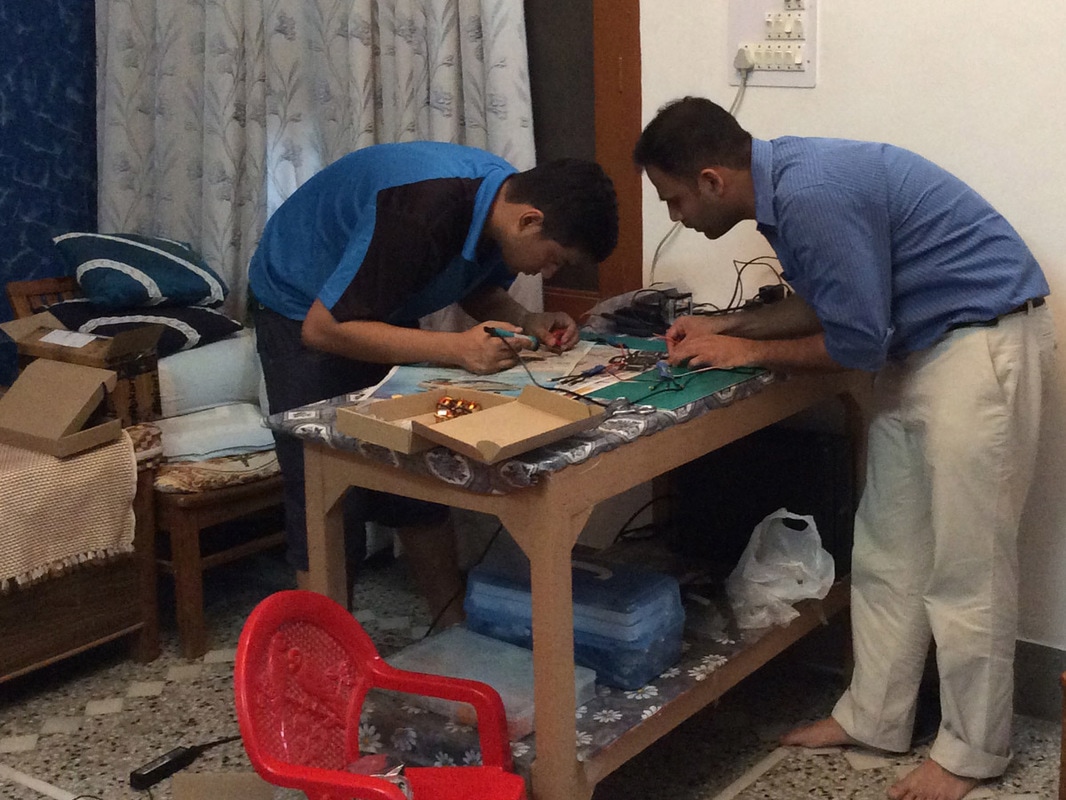
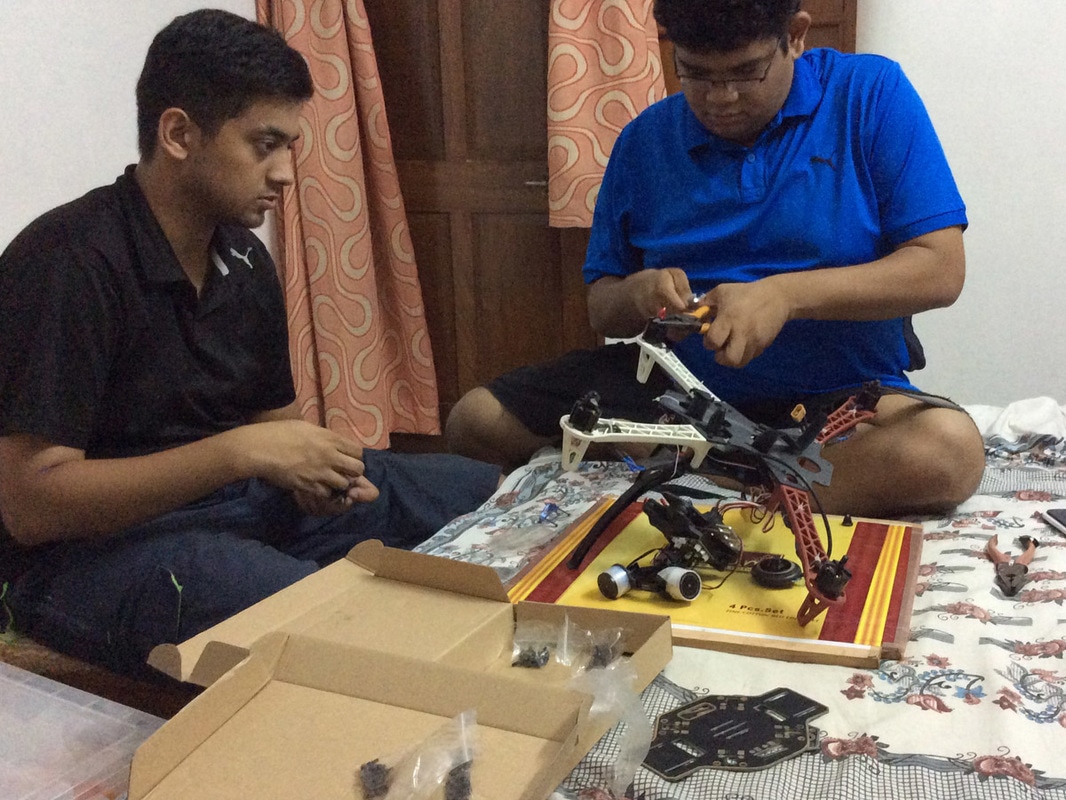
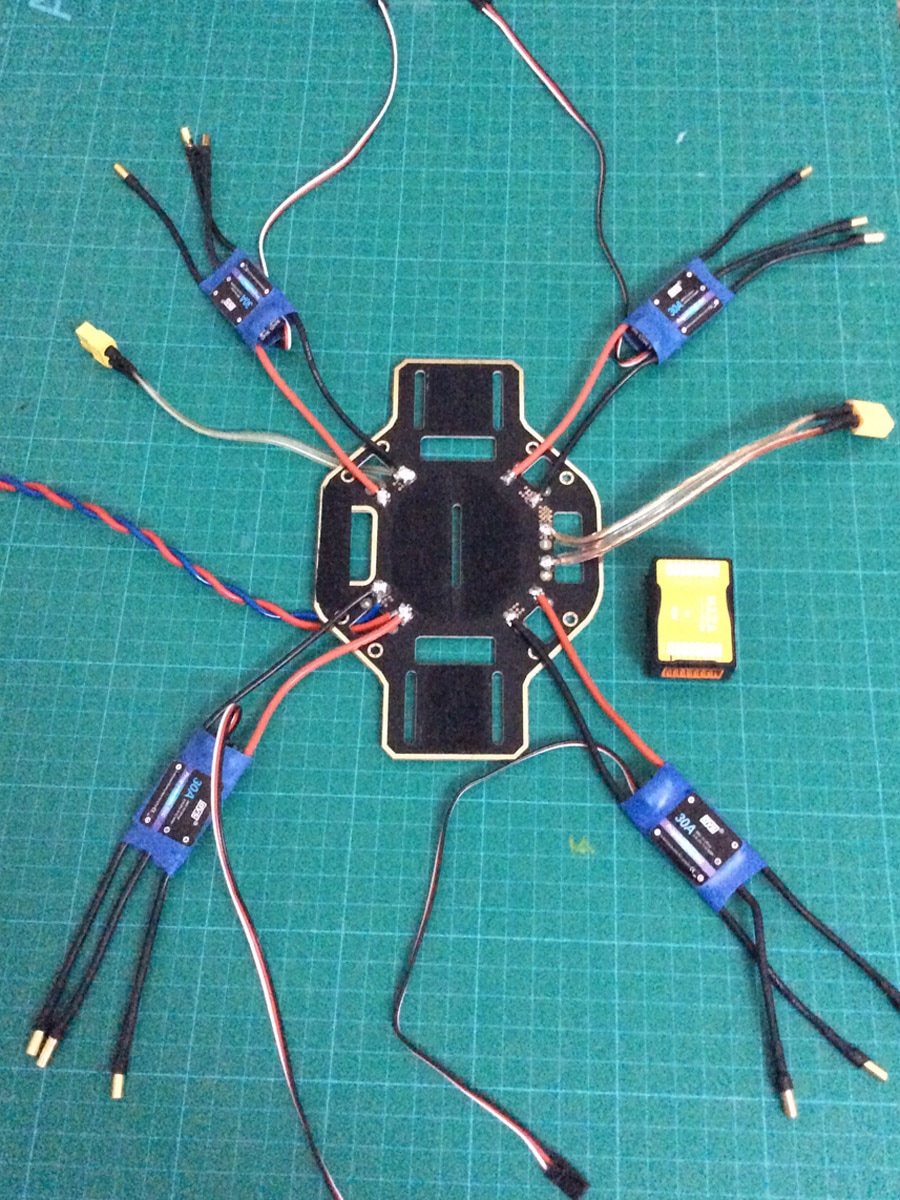
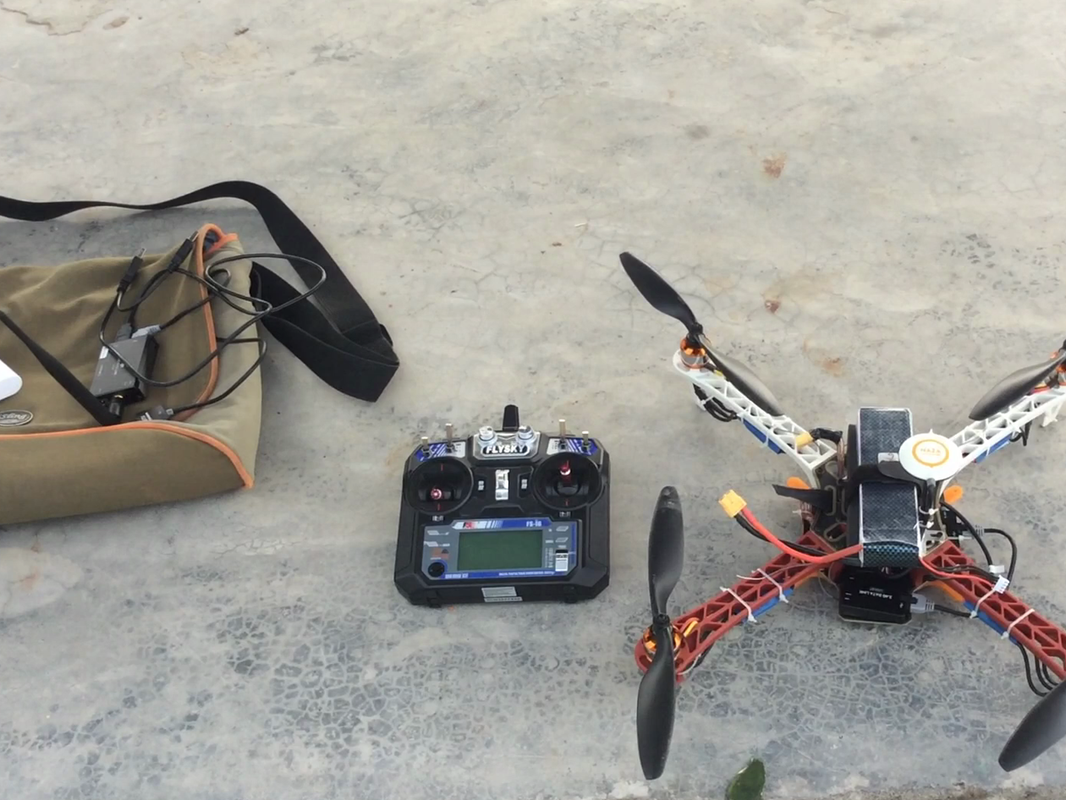
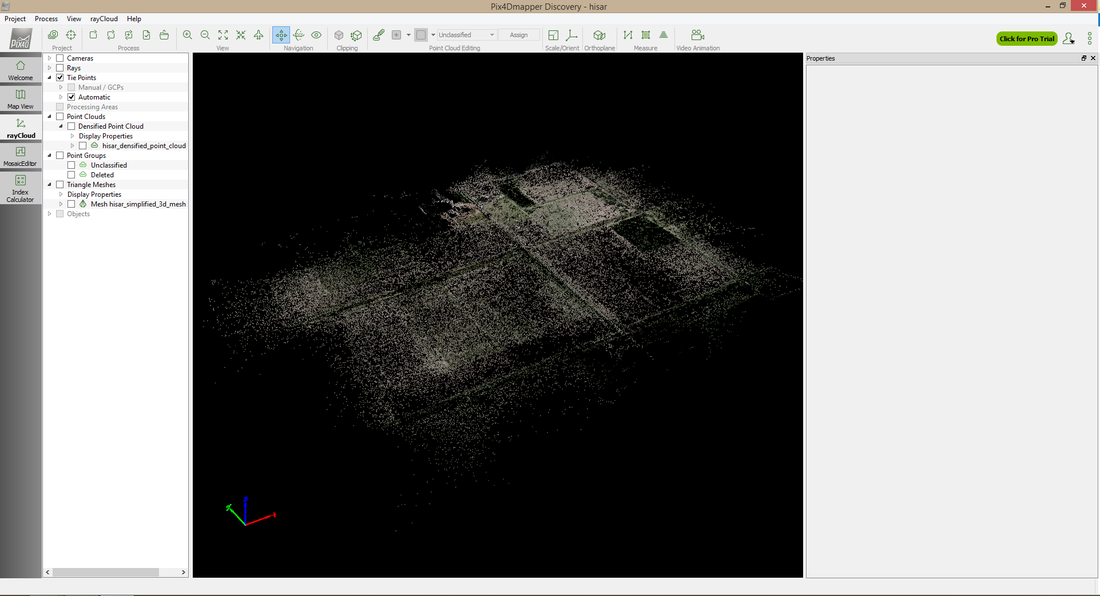
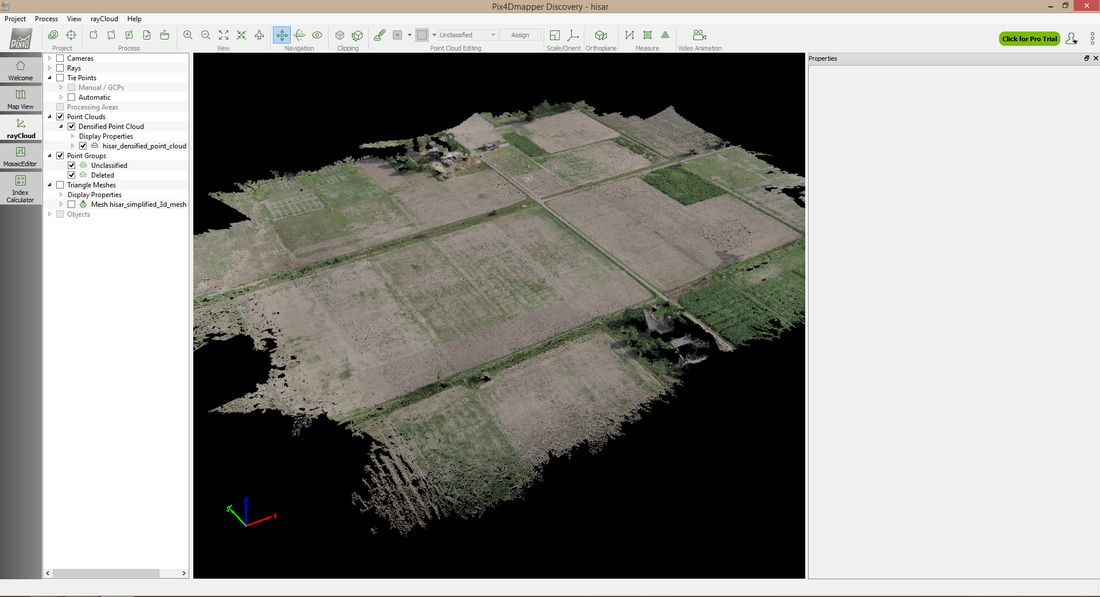
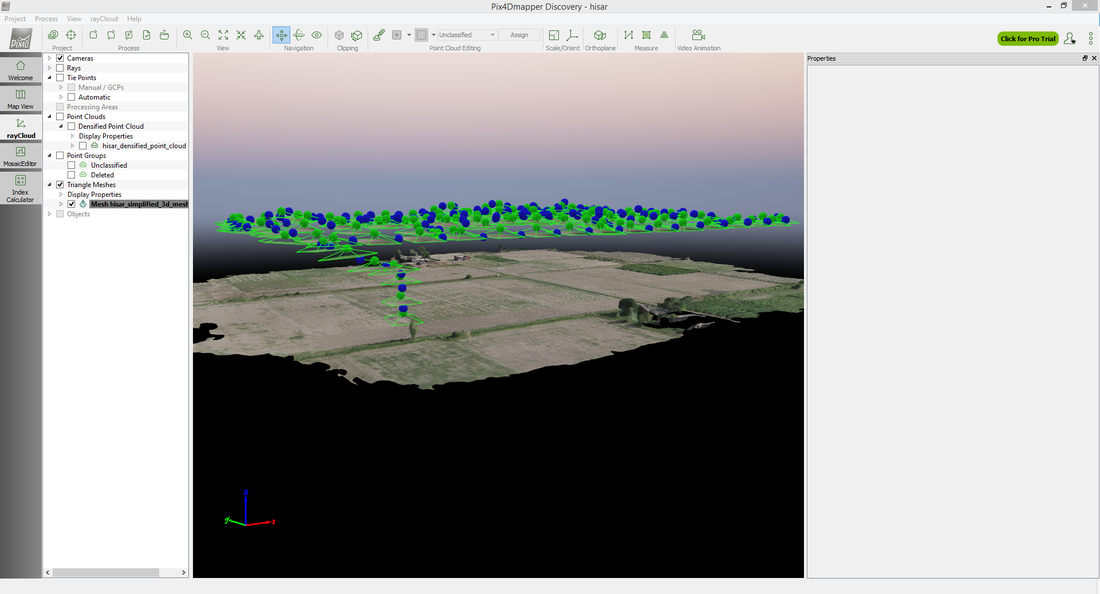
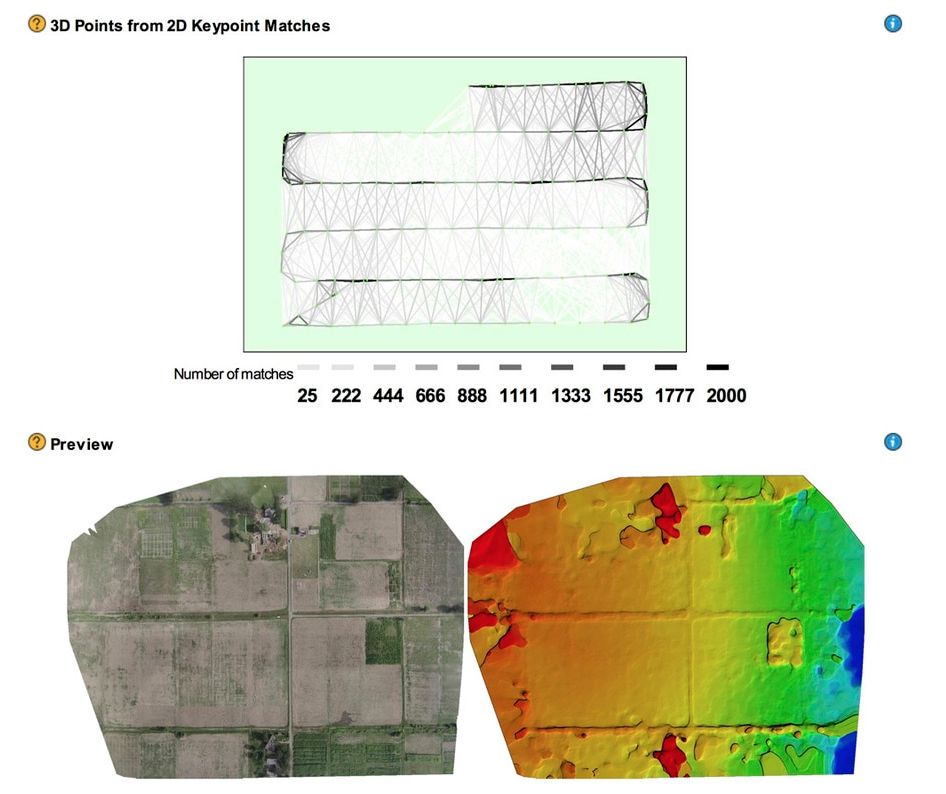
Drone repair worksWe’d carried enough spares with us including alternate platforms to get back on the job. So we took the parts which were functioning, and assembled them on a new frame to have a new working APM drone, and also parallelly assembled a DJI one. Our house turned into a drone repair and maintenance depot, with all types of mechanical and electronic spares related to drone lying around. Few words on DJIDJI’s phantom drone is the easiest available commercial drone – and you can see the same being flown even in weddings. When we were shopping for parts – we happened to open a DJI and look inside – and it seemed like a bad job of engineering, including cables running without order and poorly assembled. We instead decided to keep our own frame, motors etc, and go for DJI control boards – known as the Naza. However, the Naza wouldn’t fly by GPS coordinates (only manually), so we had to invest in some more upgrades – notably the Bluetooth control module - one end connected at the drone and the other connected with either the PC or an iOS device, with which you could control it via a DJI app. While by now we had enough experience building/breaking/maintaining a drone – the DJI proved itself quite challenging when it came for the telemetry to work. The radio modules wouldn’t just pair with each other – they had some very complex sequence of starting up which wasn’t explained very well in manuals, and after searching through numerous online forums, and by one all-nighter from Joshua – did we end up getting the remote telephony and telemetry work – but after that, we could fly the DJI powered drone with our iPad. Meanwhile, the APM was also refurbished, and was up and running – so it was back to the meteorological center, where once again, the drones took to the air. Post ProcessingWe are able to perceive depth because of our two eyes (called stereo vision). Similarly, DEM data is generated by satellites by having sensors looking at earth separated by a long boom, and the parallax between the two sensors is what gives the perception of depth. In our case, while we didn’t have stereo cameras – we did have image of the ground from multiple angles, and for each shot (after syncing the clock of camera and the drone), for each image we also had its exact position and orientation in space. Between the three drones, and multiple passes at the target area – by now we had enough imagery, and drone fly pass data, that we could now put it into post-processing. Now to do this entire data-processing, the options including commercial software as well as open-source. While open-source softwares were a feasibility, we decided to test a proprietary software called Pix4D, which offered a trial version of two licenses. One license was used on a laptop at the field to quick test the data, and the other license was used at our amazingly powerful PC called Janus – which had a server level motherboard, with two Xeon processors each with 6 cores, and a 512 core GPU (Pix4D can harness parallel processing power of CUDA compatible GPUS). Such massive computation power is needed for complex vision processing requirements like stitching such large number of images, and generating point cloud data in 3D. Results
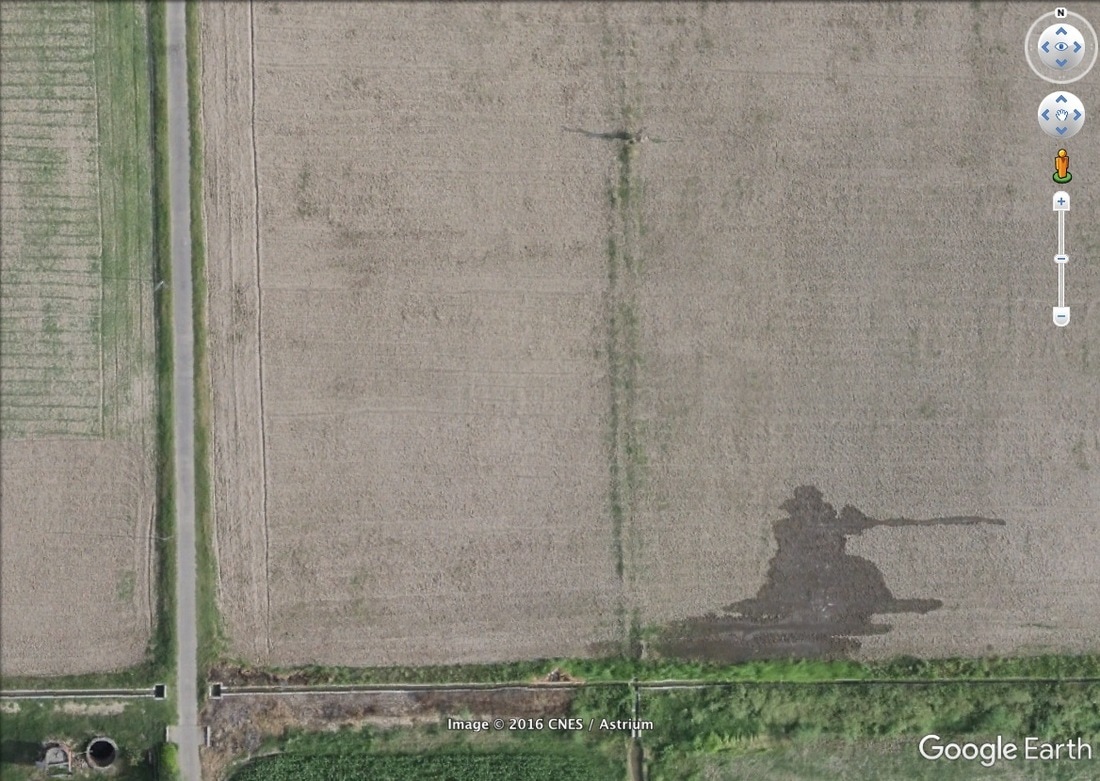
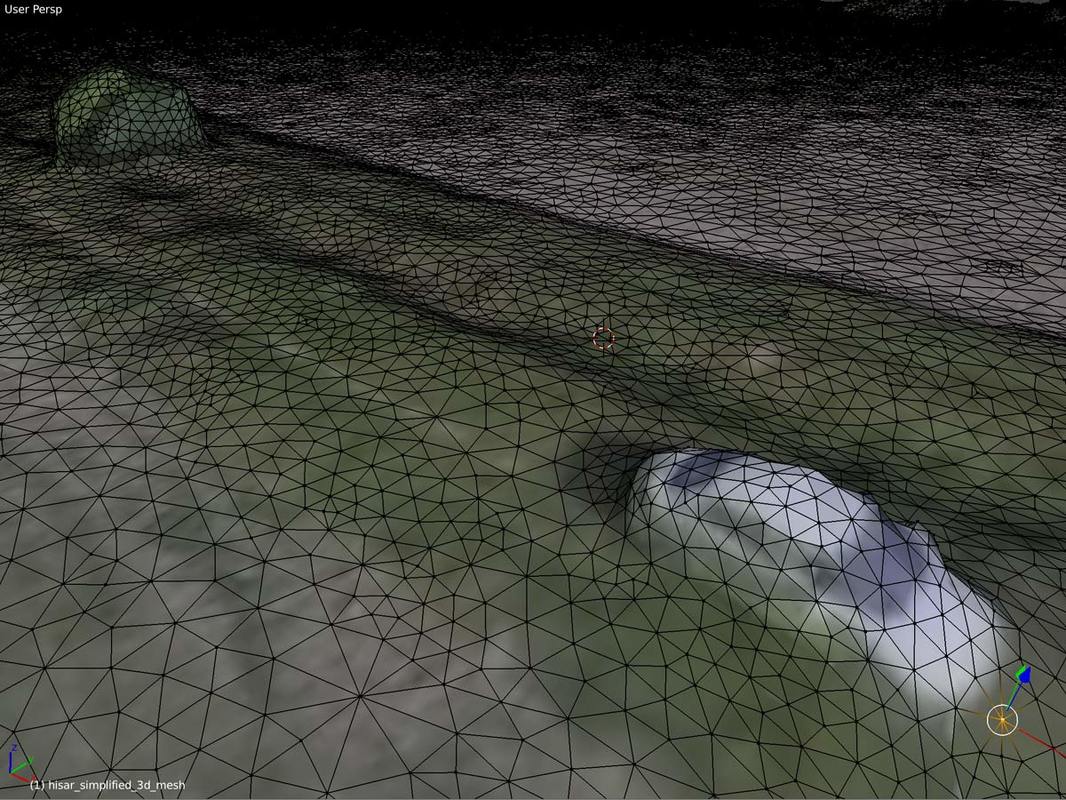
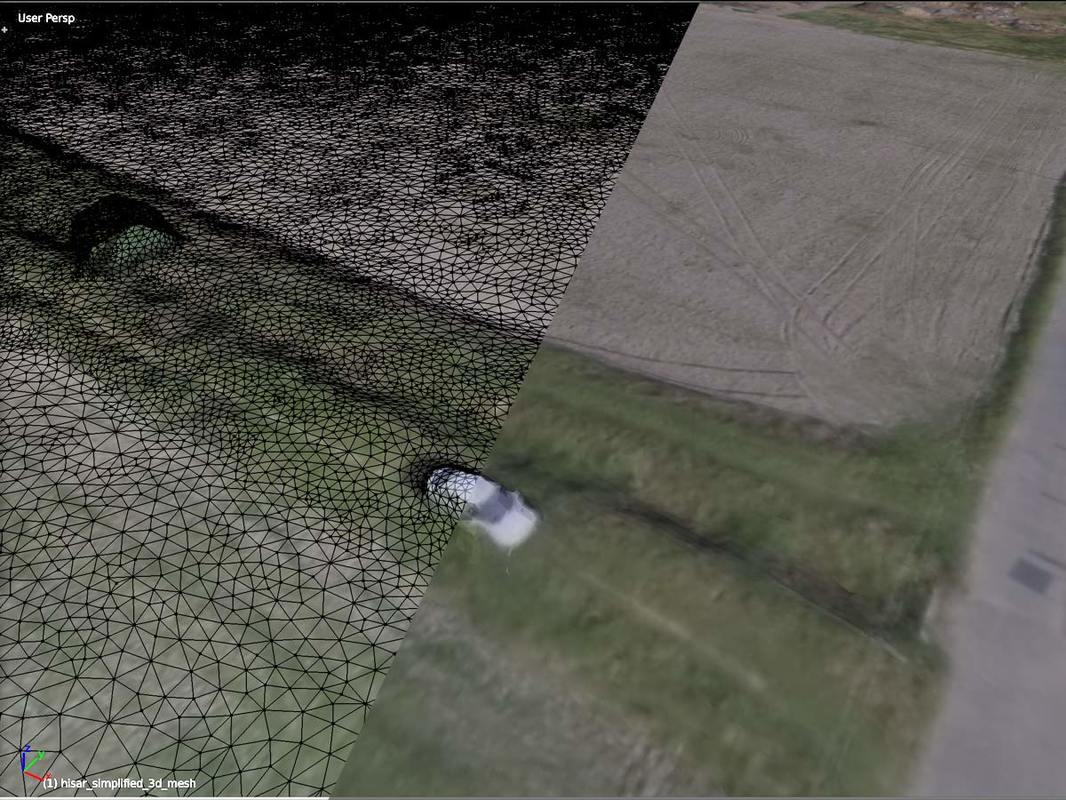
Here are the results of the ortho-mosaic (stitched image data) overlaid on top of Google Maps and compared. You can see vivid details of the buildings, the marks of the furrows, and even the surf in the freshly irrigated field. And here is the point-cloud data - which is 3D reconstruction of the scene. You can easily establish the features of the terrain - the depth of the ditch, the height of the trees - even the measurement of the car parked there. On the whole – it was mission successful ! Thanks to the enduring efforts of the duo of Joshua and Karan. 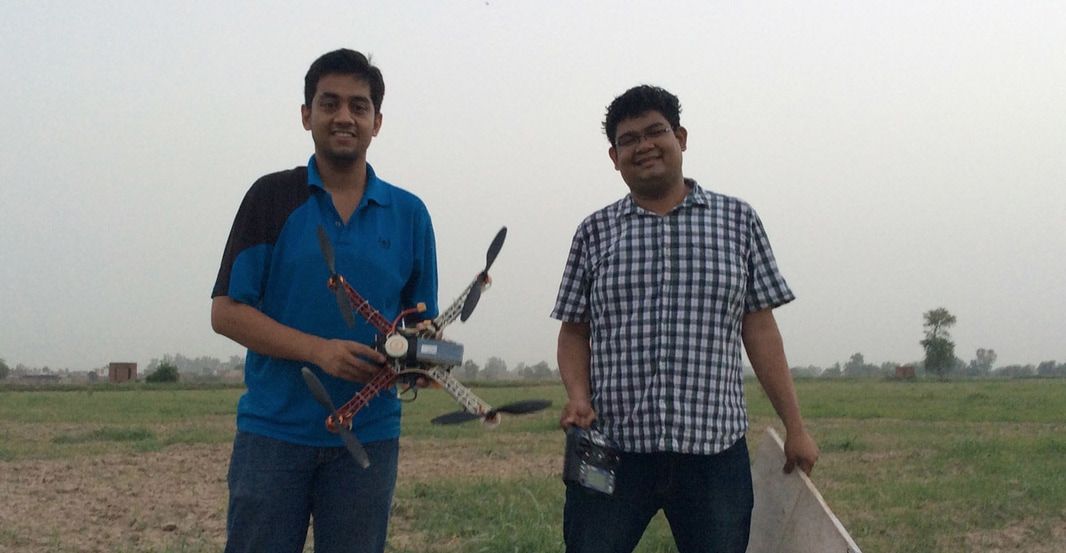 LearningWhile the entire operation was a huge learning exercise, here are a few things which we’d do differently the next time:
DGCA Drone operators guidelines.
|
Follow updates
Categories
All
Archives
February 2017
|


 RSS Feed
SIGN UP FOR OUR NEWSLETTER
|
GET OUR APPS
|
|
|
|
|
CONNECT WITH US
|
|
|
|
All rights reserved. Threye Interactive Pvt Ltd. 2021